Installing WordPress using cPanel
This guide will show you how simple it can be to install WordPress using cPanel. cPanel has a powerful tool called “Installatron Applications Installer”, within a few clicks you can have WordPress running on your domain. “Installatron” has hundreds of web applications ready to be installed, from e-Commerce solutions to having your very own personal cloud storage solution, all free of course.
Let’s begin shall we?
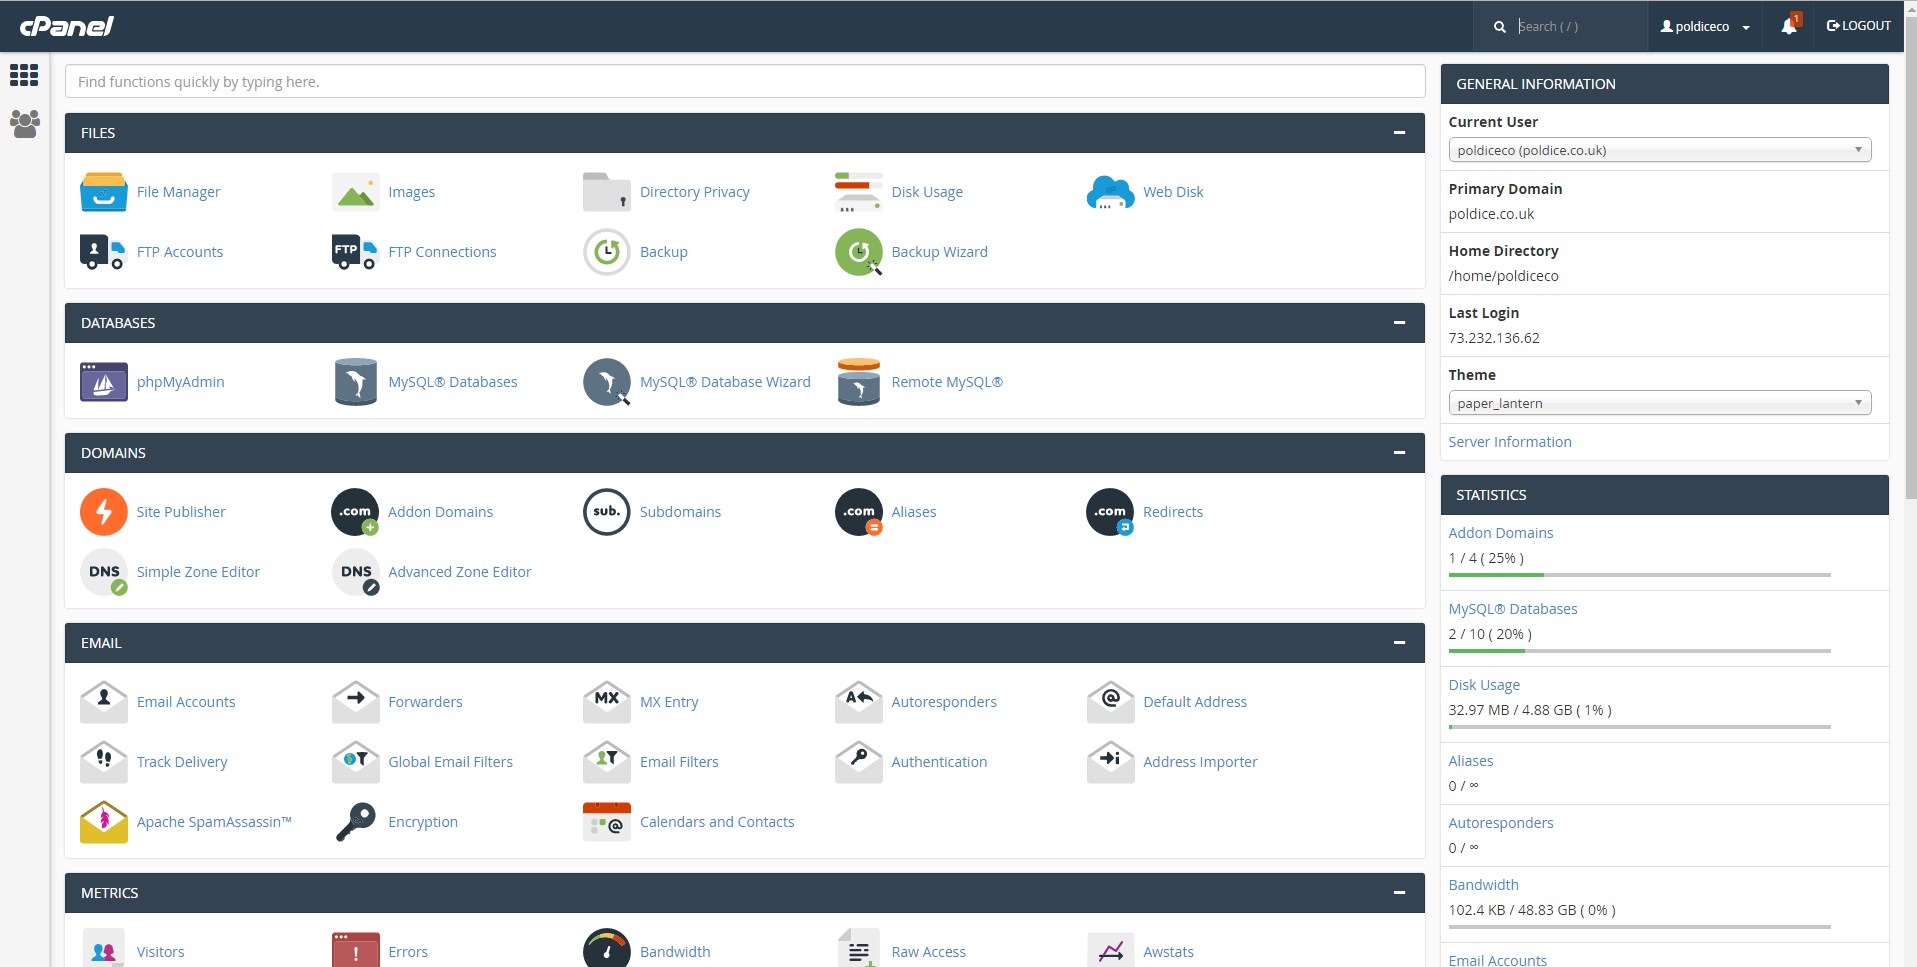
1. Login to your cPanel account. When you first set up an account with us, you would have received an email with the details on how you can gain access to your control panel. If you have lost those details, feel free to raise a support ticket or call in.
2. Locate the Installatron service. You can do this by using the find field in the left pane, when you start to type Installatron it will appear.
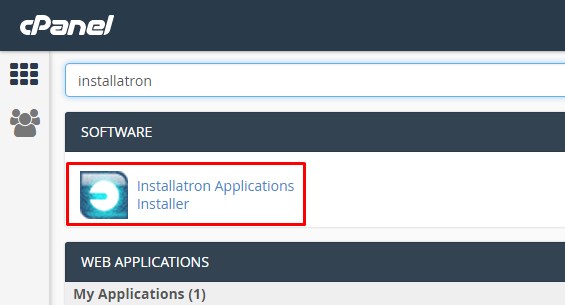
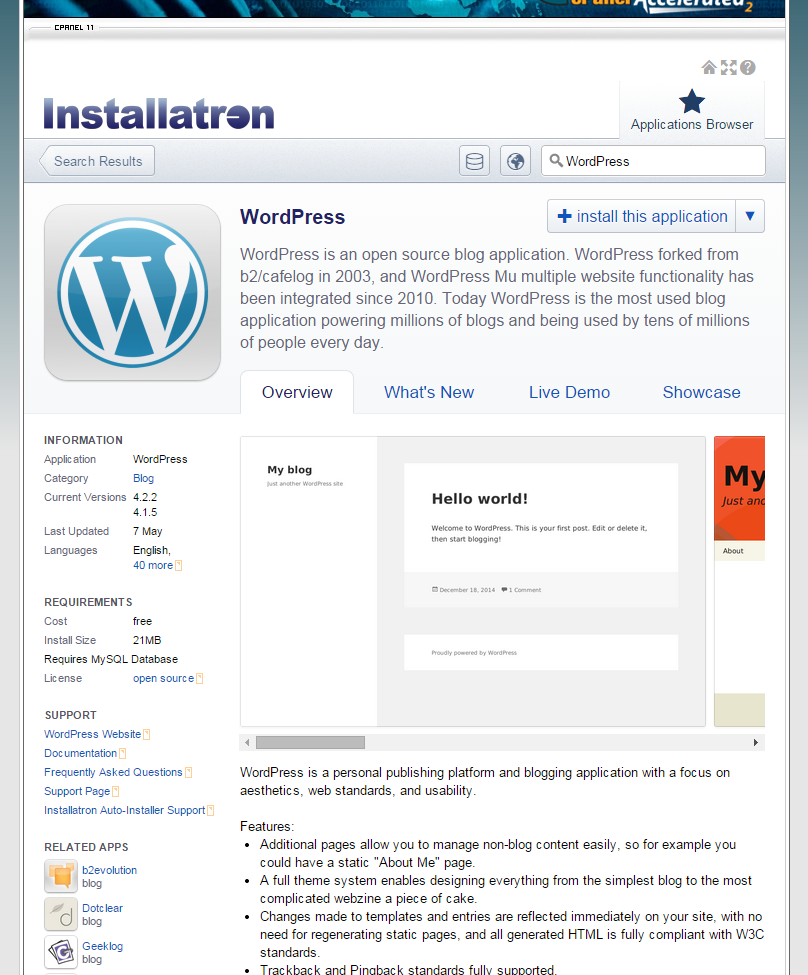
3. Click “Installatron Applications Installer” and locate WordPress by either using the search feature at the top or looking for it under “Content Management”
4. Click “install this application” to progress to the settings page.
5. Once you've selected “install this application”, you will be asked to choose the website you wish to install WordPress on from the drop down menu under "Domain", if you only have 1 domain on your account, it will appear by default.

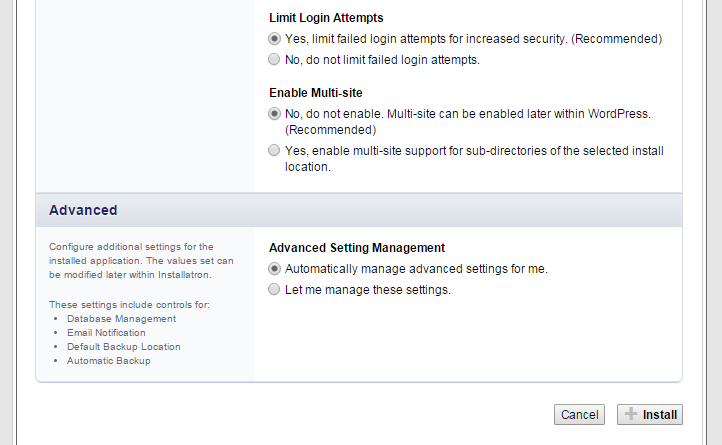
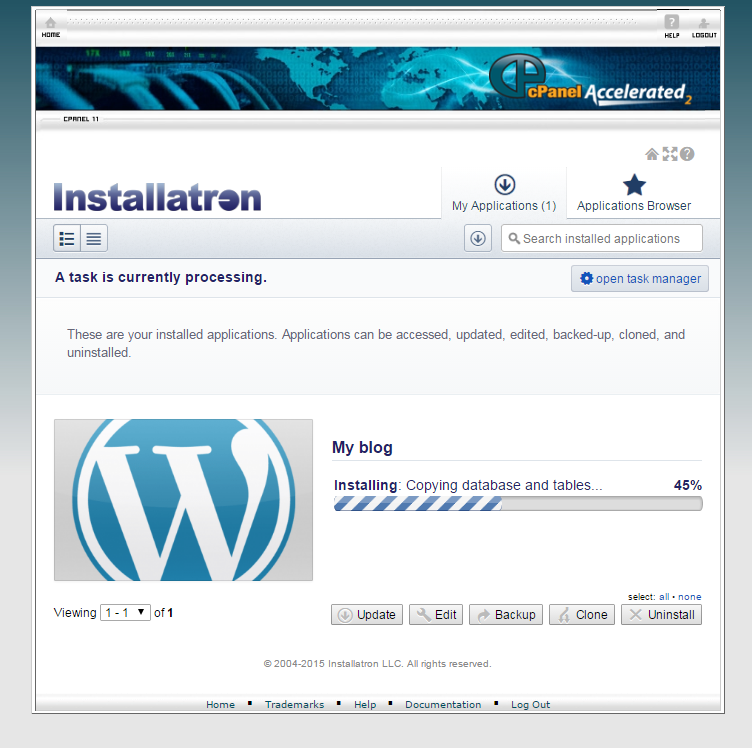
6. Once you've filled out filled out your details (Installatron will auto select the recommended settings). Click Install, it shouldn't take more than a couple of minutes to complete installing, once it’s finished you can start using your new WordPress website. Your login credentials will be sent to the administrator email account specified in the setup screen.