1. Firstly we need to connect to your mailbox using Webmail. In most cases typing your domain name followed by "/webmail" ( e.g. example.com/webmail ) will take you right to your login screen.
Alternatively you can use the servers IP address or hostname in place of your domain name, e.g. 176.74.20.112/webmail or fistral.cloudabove.com/webmail.
2. Login to your mailbox by using your email address and password associated with that account.
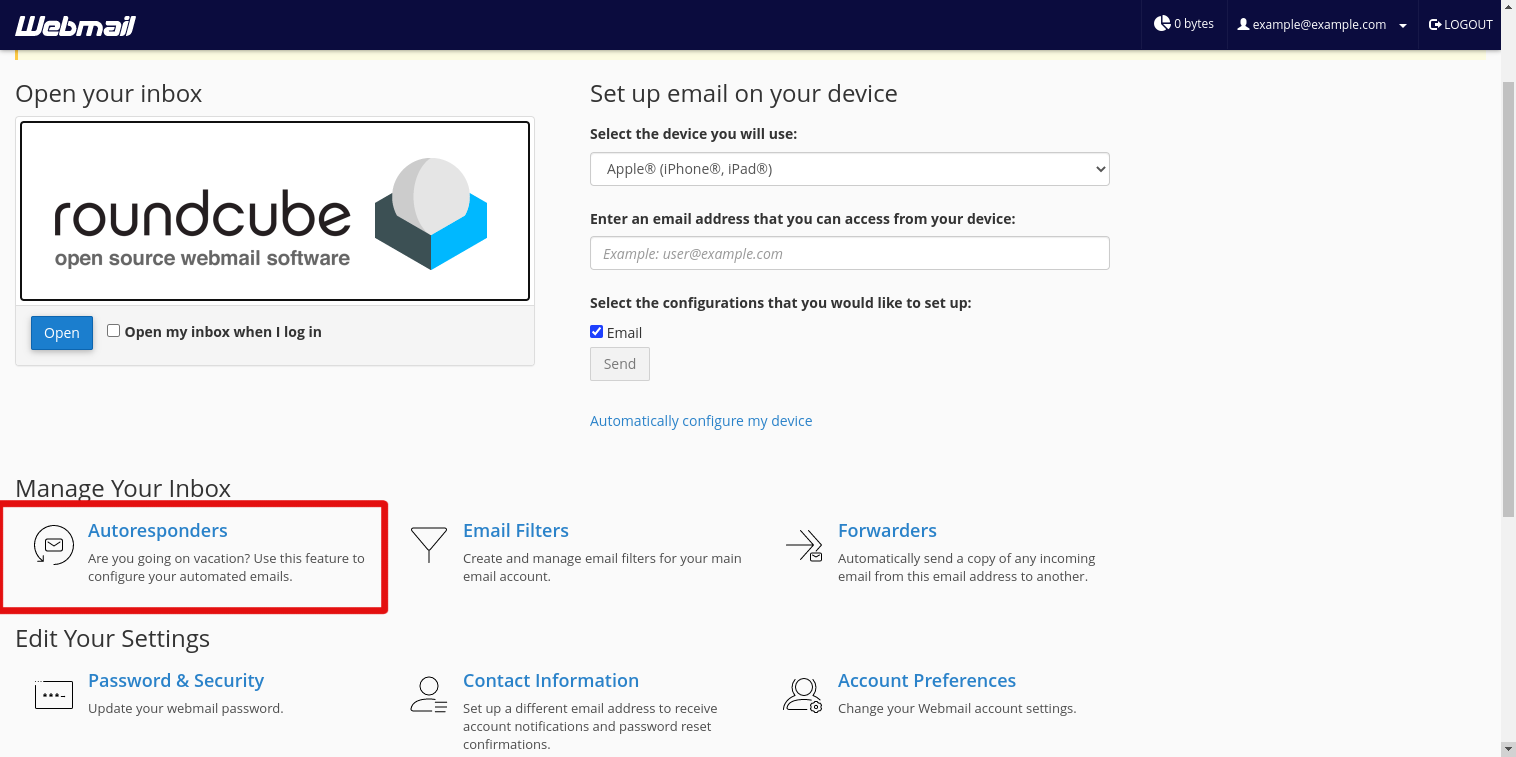
3. Once logged in please click Autoresponders.
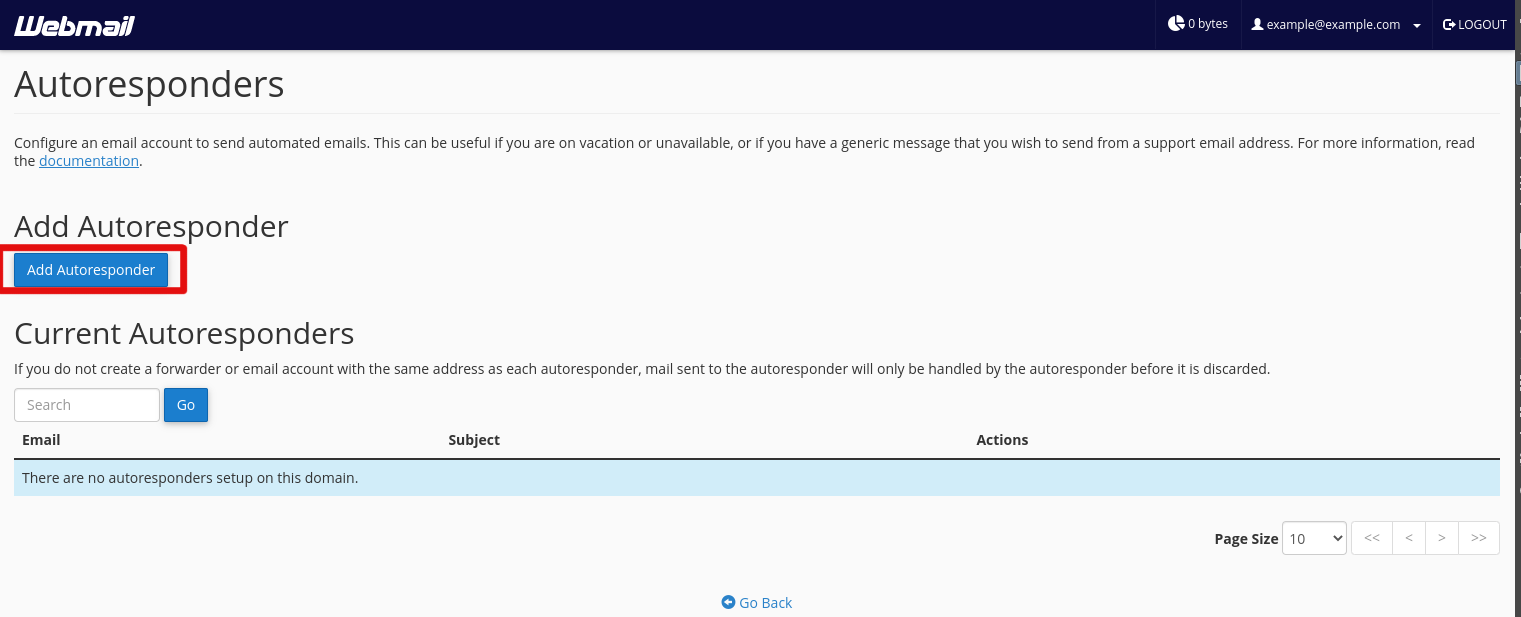
4. Next click Add Autoresponder, then fill out your autoresponder message and select the times in which you want the settings to start and finish.
And that's it, you've successfully added an Autoresponder via webmail.
Having trouble? Feel free to get in touch either via email at support@cloudabove.com or over the phone on +44 (01872) 672 050, and we'll be happy to help.