This guide will show you how to setup email forwarders.
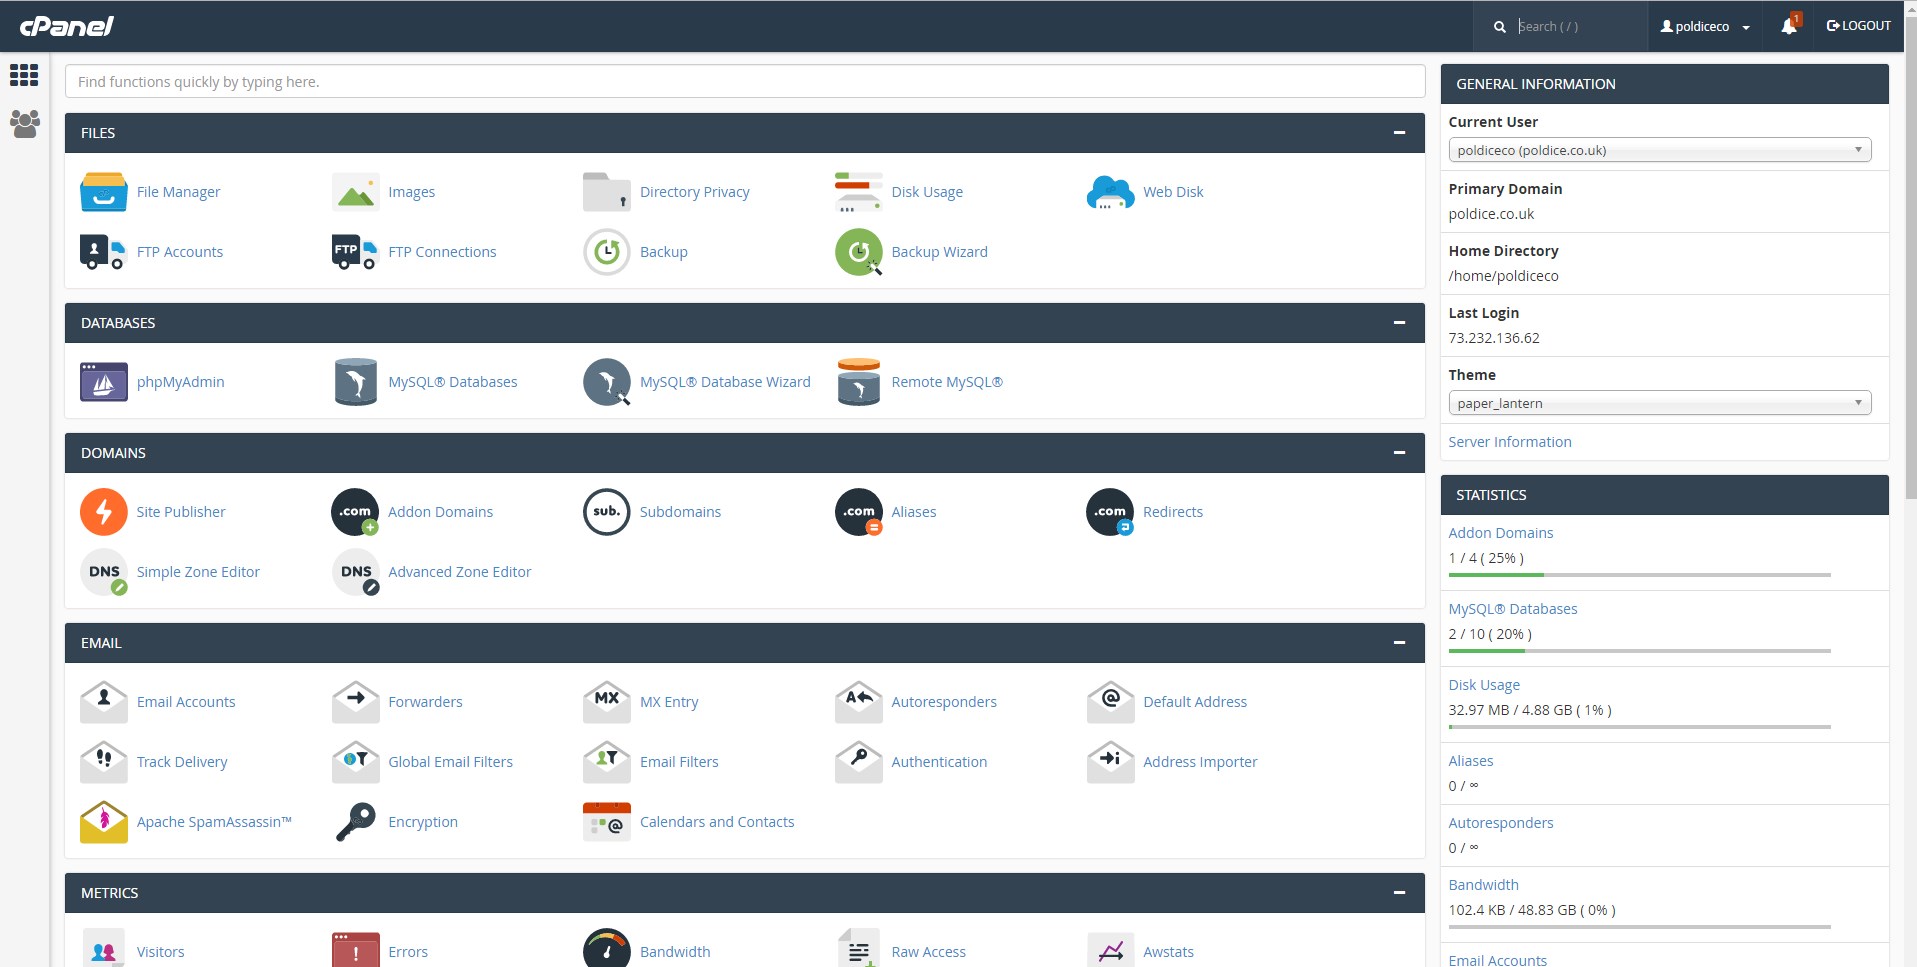
- Login to your cPanel account. When you first set up an account with us, you would have received an email with the details on how you can gain access to your control panel. If you have lost those details, feel free to raise a support ticket or call in.
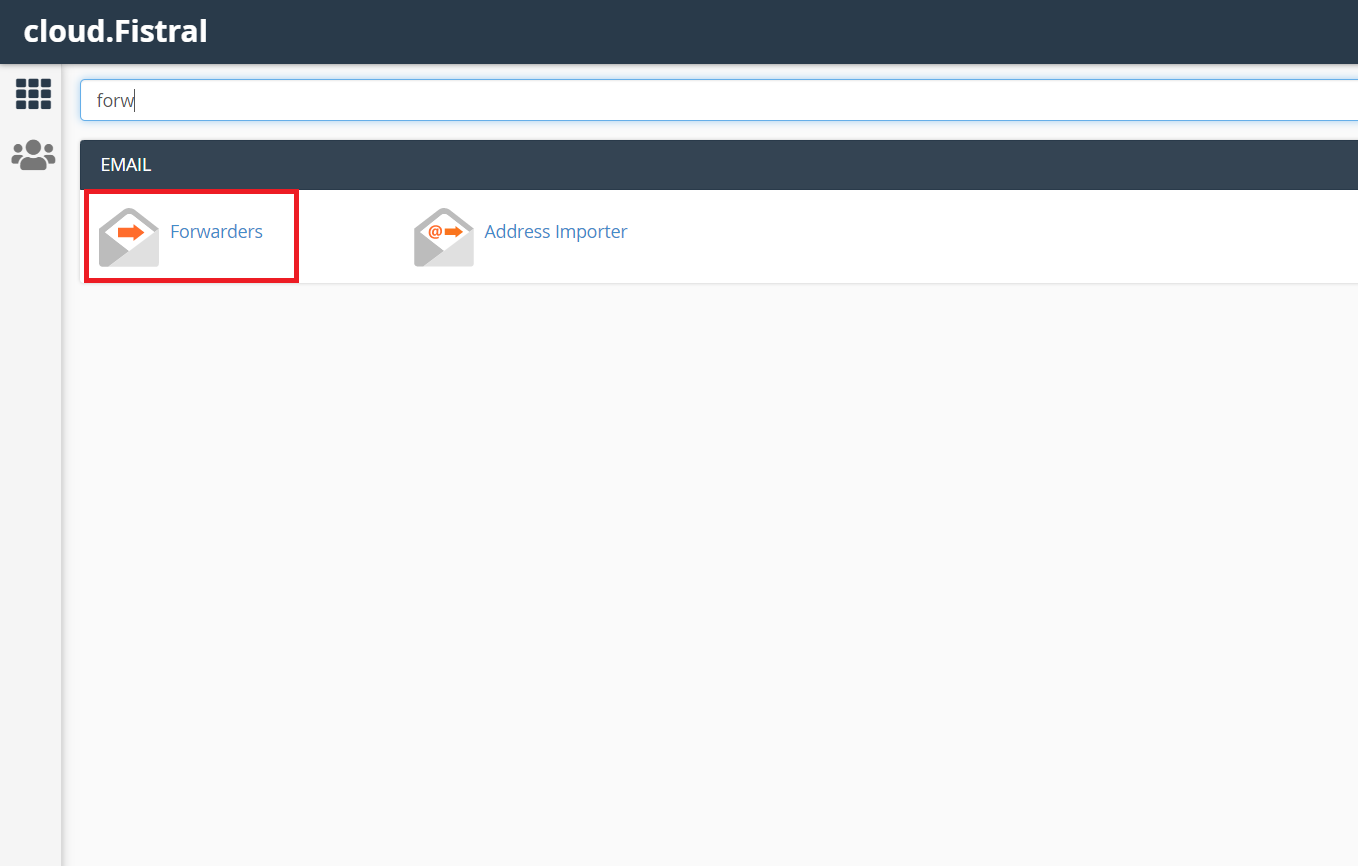
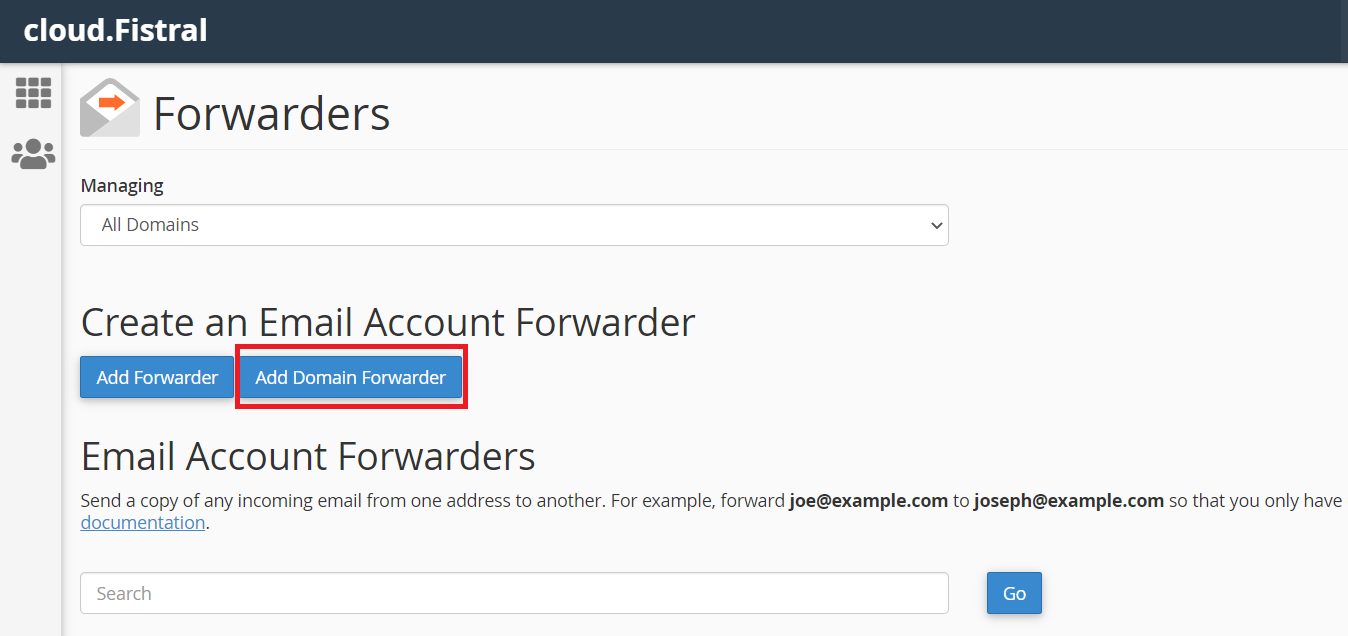
2. Locate the Email Forwarders section. You can do this by using the find field in the left pane, when you start to type "Forwarder" it will appear.
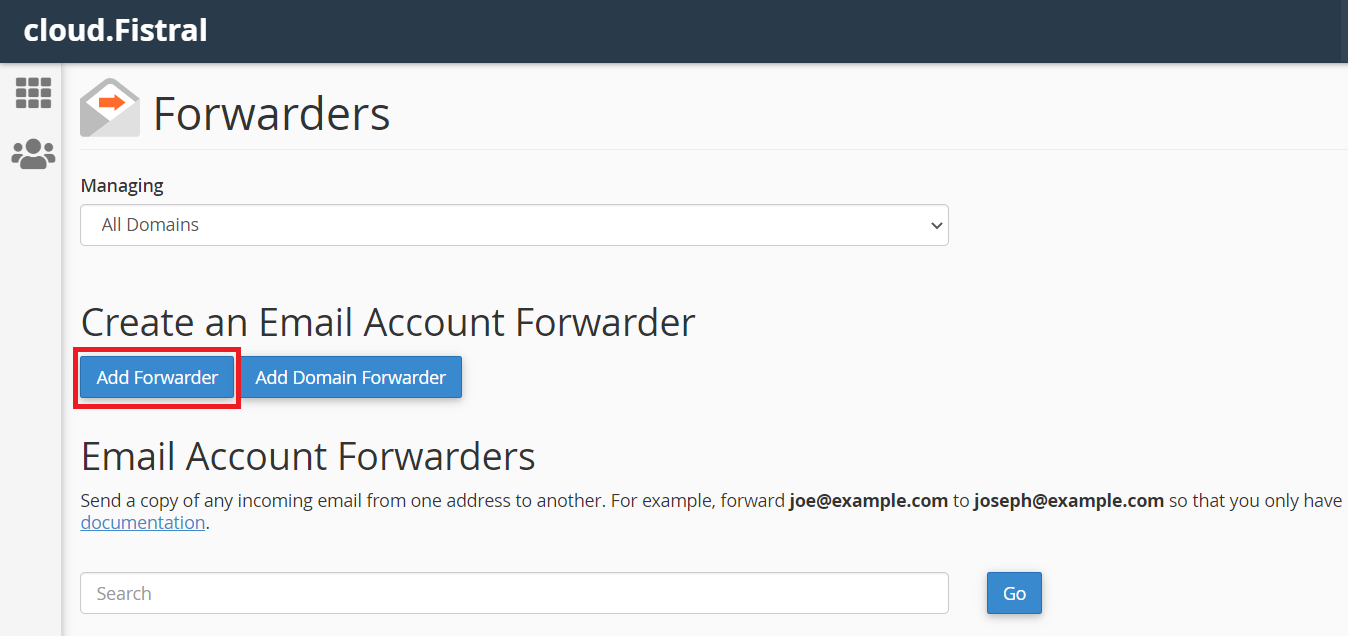
3. Click Add Forwarder.
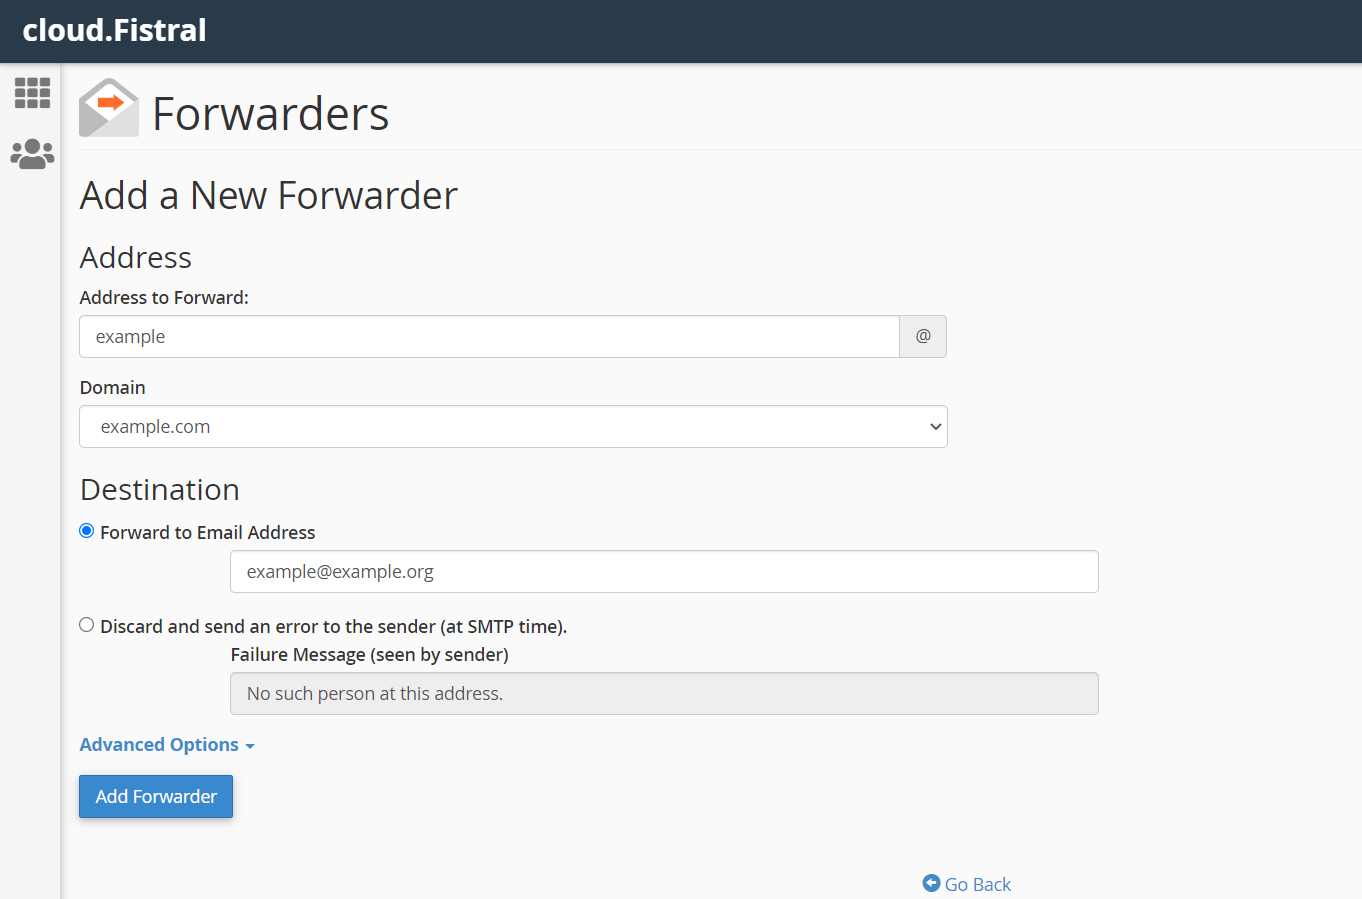
4. Add the email address you would like to forward, as well as which email address you would like email to be forwarded to, as shown bellow. Then click Add Forwarder to save the new forwarder.
5. Alternatively, you can click Add Domain Forwarder to forward any emails to a specified domain to another domain.
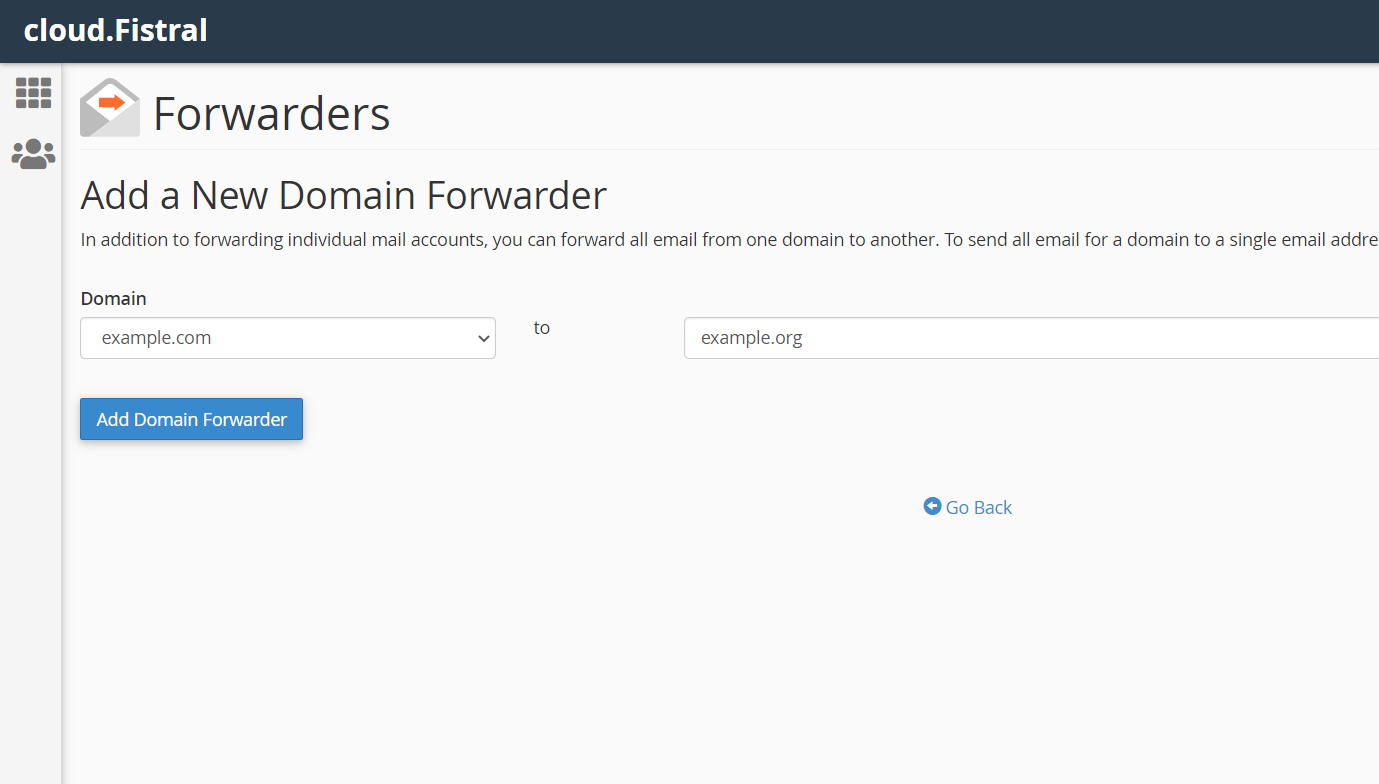
6. Select which domain you would like to forward, as well as which domain you would like email to be forwarded to, as shown bellow. Then click Add Domain Forwarder to save the new forwarder.
And that's it, you've successfully added an email forwarder, any emails sent to the specified email address or domain will be forwarded to the email/domain in the forwarder.
Having trouble? Feel free to get in touch either via email at support@cloudabove.com or over the phone on +44 (01872) 672 050, and we'll be happy to help.