This guide will help you add your newly created email account to your Apple device, which could be an iPhone or iPad/
Screenshots are included to help you see the process as we go.
These instructions assume you have already set up your new email account through your cPanel control panel and in doing so you will now have an email address and a password to use with it. If you have not yet completed that stage and would like help with that then please click here.
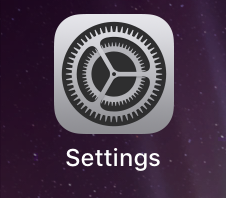
1. On your Apple device press on the Settings icon which looks like this:
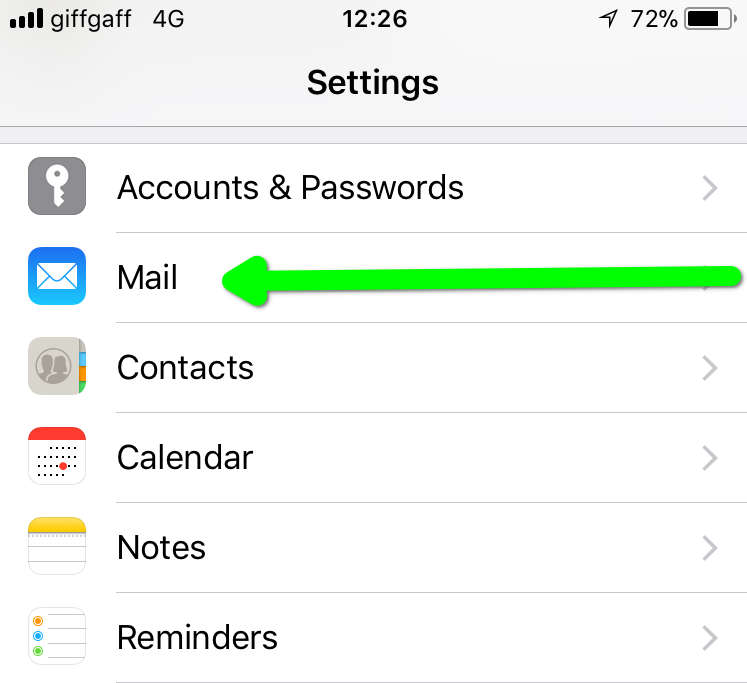
2. Scroll through your Settings until you find Accounts & Passwords and press on that.
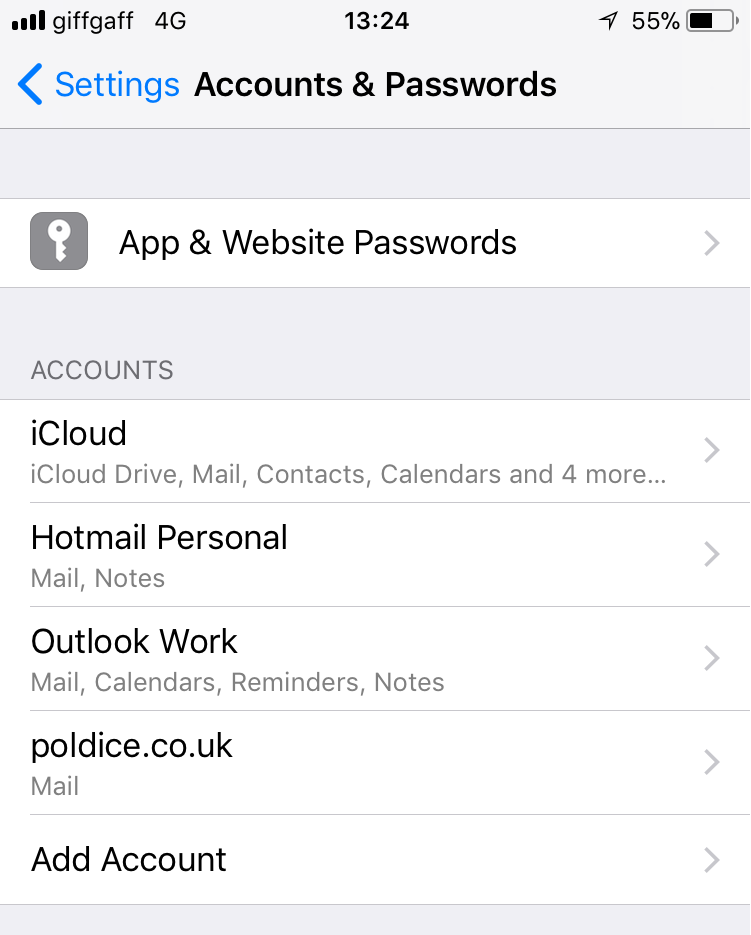
3. Then find Add Account and press on that.
4. Then choose Other which is at the bottom of the list:

5. Then select Add Mail Account

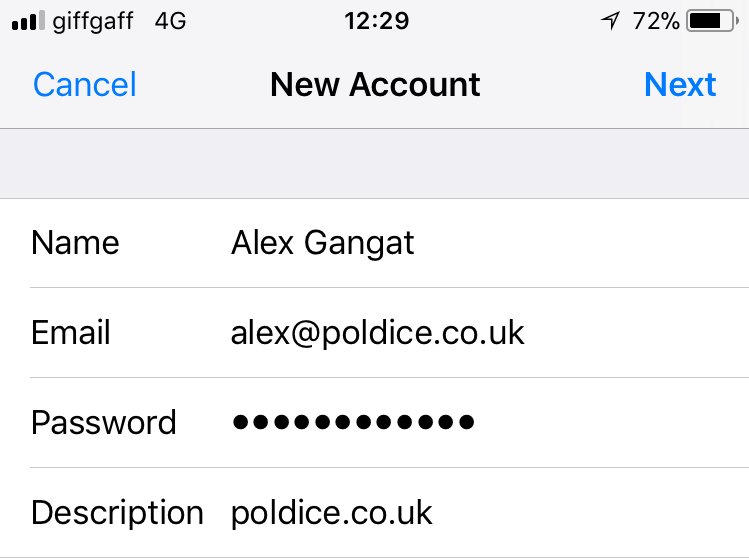
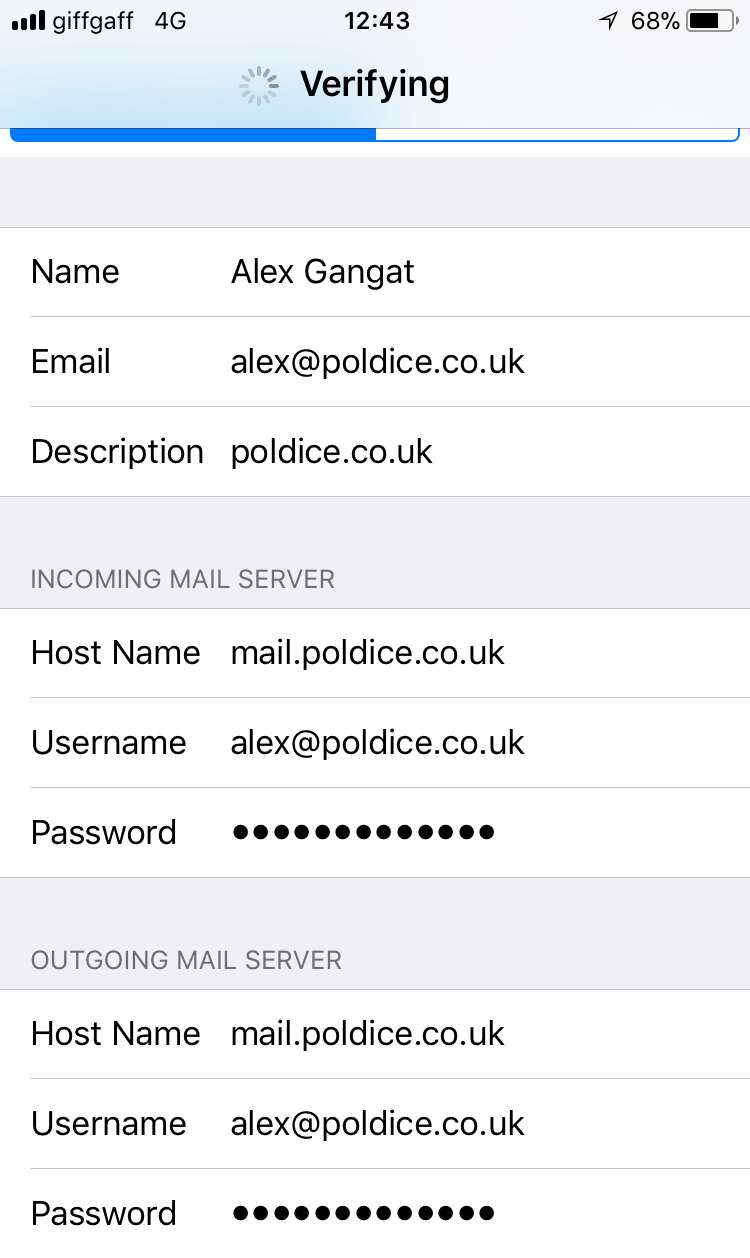
6. Next, you will need to enter the following:
- Your Full Name
- Your New Email Address
- The Password for your email account - This is the password you set when you created the mailbox in cPanel
- A description is optional, this is just for your reference.
Then press Next.
7. On the next screen, you will need to enter your Incoming and Outgoing Mail Server Settings.
Your Incoming Mail Server Hostname will be mail.Your-Domain.com. As an example, if your domain-name was: www.example.co.uk your Incoming Hostname would be: mail.example.co.uk
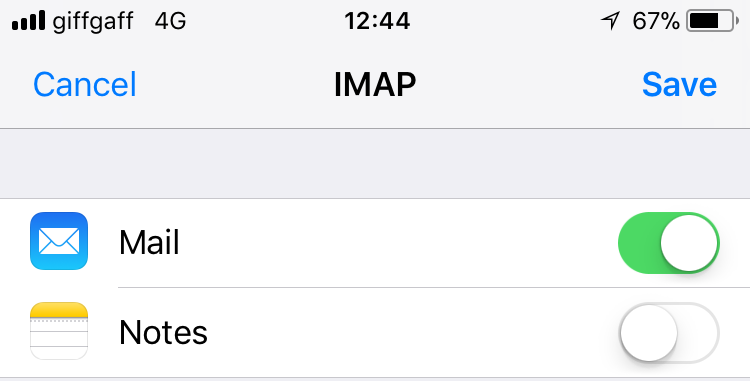
8. Press Next. On the next screen turn off Notes and leave Mail on and press Save.
Setting up your Trash folder
1. Press on the email account you have just added, then press on "Account" scroll down and click "Advanced".
2. Under "Mailbox Behaviors" press on "Deleted Mailbox" by default it will select the "Trash" on the iPhone this needs to be changed; if you scroll down you should see a "Trash" folder lower down, press on that one to select.
3. Press "< Advanced" in the top left, then "< Account" and then "Done" in the top right, this will save your new settings.
Setting up your Sent folder
1. In your Mail Settings press on the email account you have just added, then press on "Account" scroll down and click "Advanced".
2. Under "Mailbox Behaviours" press on "Sent Mailbox" by default it will select the "Sent" on the iPhone this needs to be changed; if you scroll down you should see a "Sent" folder lower down, press on that one to select.
3. Press "< Advanced" in the top left, then "< Account" and then "Done" in the top right, this will save your new settings.
Your new email account is set up and ready to use.
Return to your Home screen by pressing the Home button and then open the Mail App to access your email.
If you experience any difficulty in configuring your device then please do not hesitate to get in touch with us here: http://swbroadband.co.uk/contact.html