There are several different types of DNS records which you might need to change, below is a quick explanation of the most common DNS records;
A Record: IPv4 address record. Matches the domain name to an IPv4 address.
CNAME Record: Canonical name record. Matches the domain name to an alias.
MX Record: Mail Exchange record. Matches the domain name to a list of servers that handle mail for the domain, and tags each server with a priority (the highest priority is 0).
To add a record follow the steps and screenshots below.
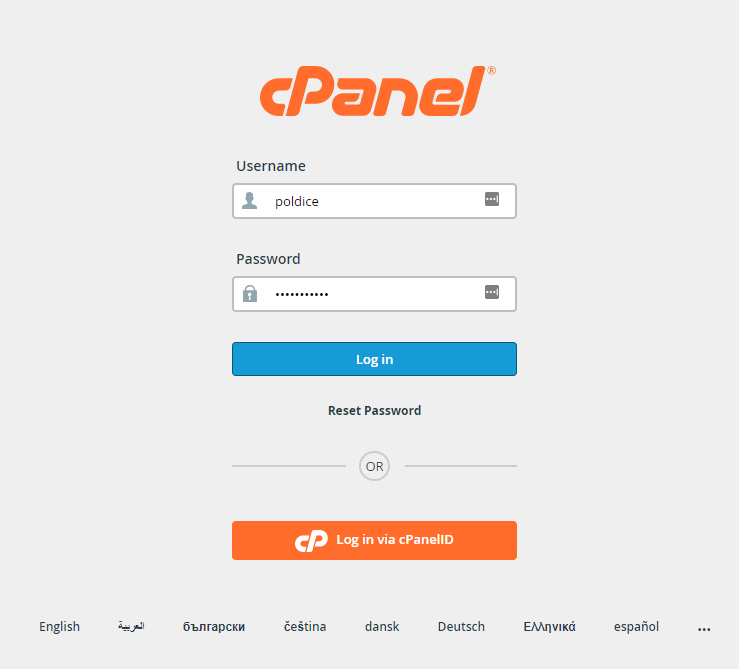
1. Login to your cPanel account. When you first set up an account with us, you would have received an email with the details on how you can gain access to your control panel. If you have lost those details, feel free to raise a support ticket or call in.
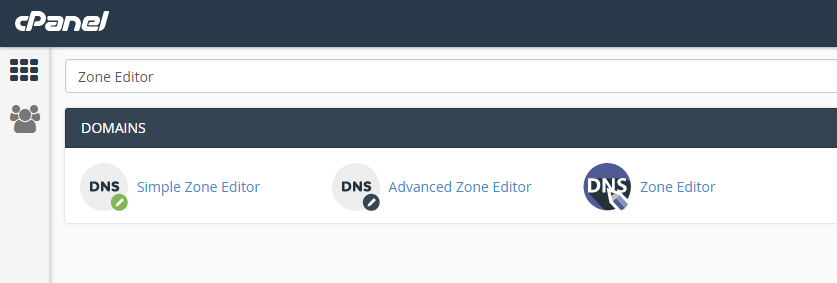
2. Navigate to "Zone Editor".
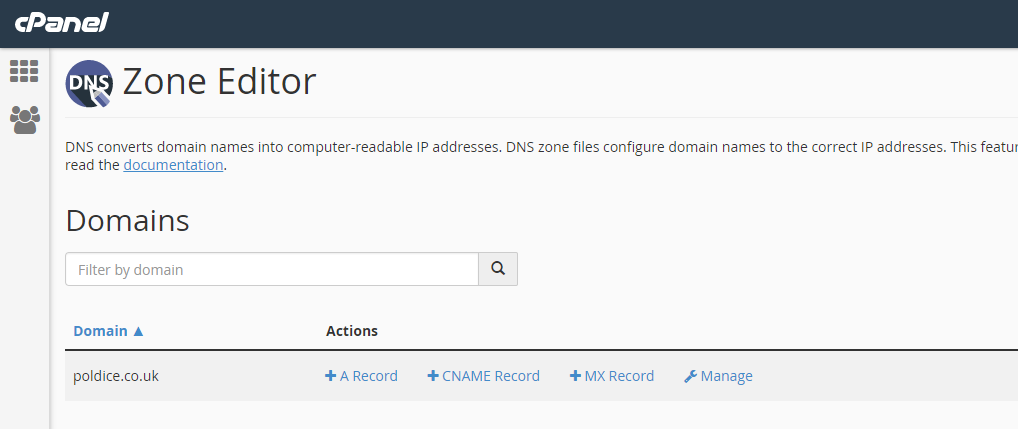
3. Click "Manage".
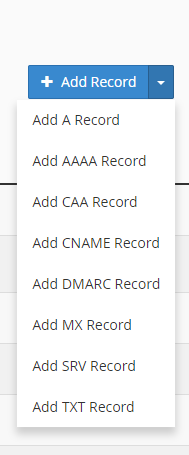
4. Click the drop down marker next to "Add Record" and select the type of DNS record you want to add.
5. Input the required record fields and once all fields are correctly filled click "Add Record".
If you do run into any issues please email support@cloudabove.com.