Here is our guide on installing an SSL certificate using cPanel.
Difficulty = Medium.
1) Contact us about purchasing an SSL certificate for your website or follow this link: http://cloudabove.com/ssl-certificates.html
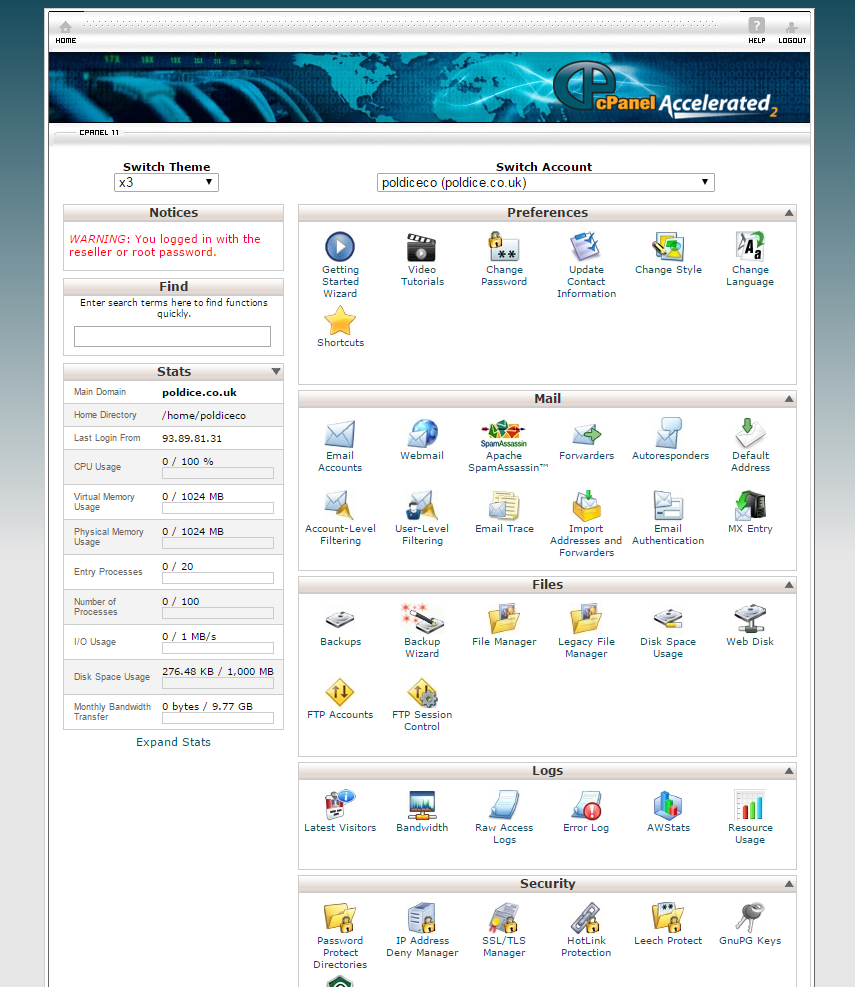
2) Login to your cPanel account. When you first set up an account with us, you would have received an email with the details on how you can gain access to your control panel. If you have lost those details, feel free to raise a support ticket or call in.
3) Creating an authoritative email address:
Before we get started with setting up the certificate we need to create or use an existing email account that has an authoritative name associated with it, these are the rules set by each SSL certificate authority, the email address can be any of the following:
To create an email address using cPanel please navigate to “Email Accounts” and add your desired address, for further details on how to create an email address please see our guide: http://support.swbroadband.co.uk/articles/email/creating-an-email-address
It’s important to remember the password for this email account as you will need to access it shortly, the type of install we are performing uses email validation at a few steps.
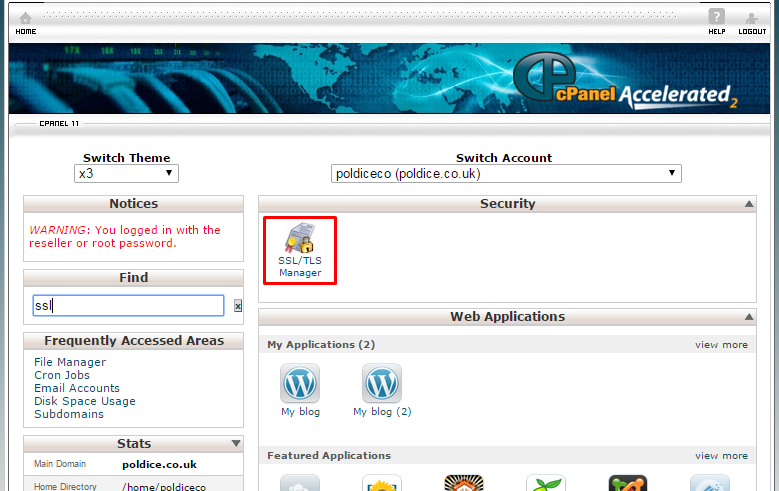
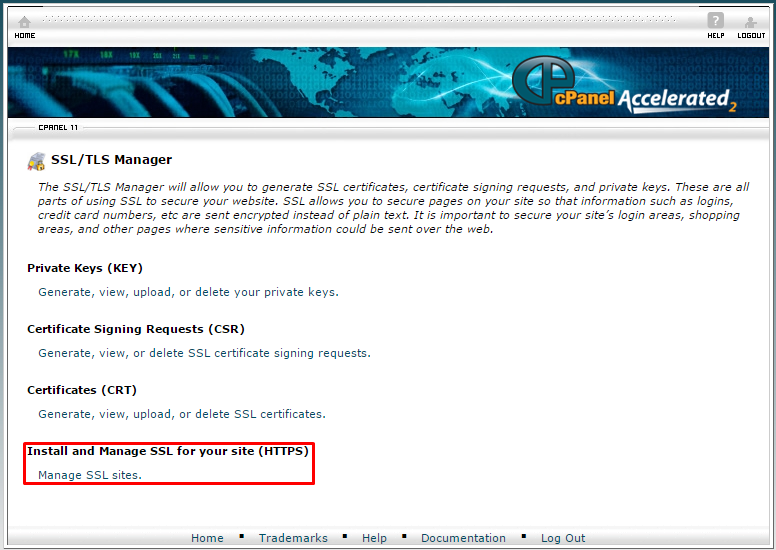
4) Back in cPanel using the find field, search for “SSL” then click on “SSL/TLS Manager”.
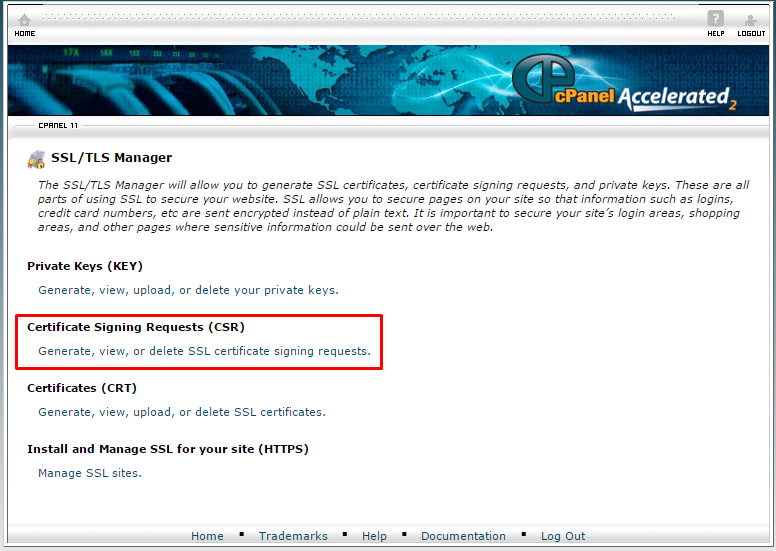
5) We now want to generate a Certificate Signing Request (CSR).
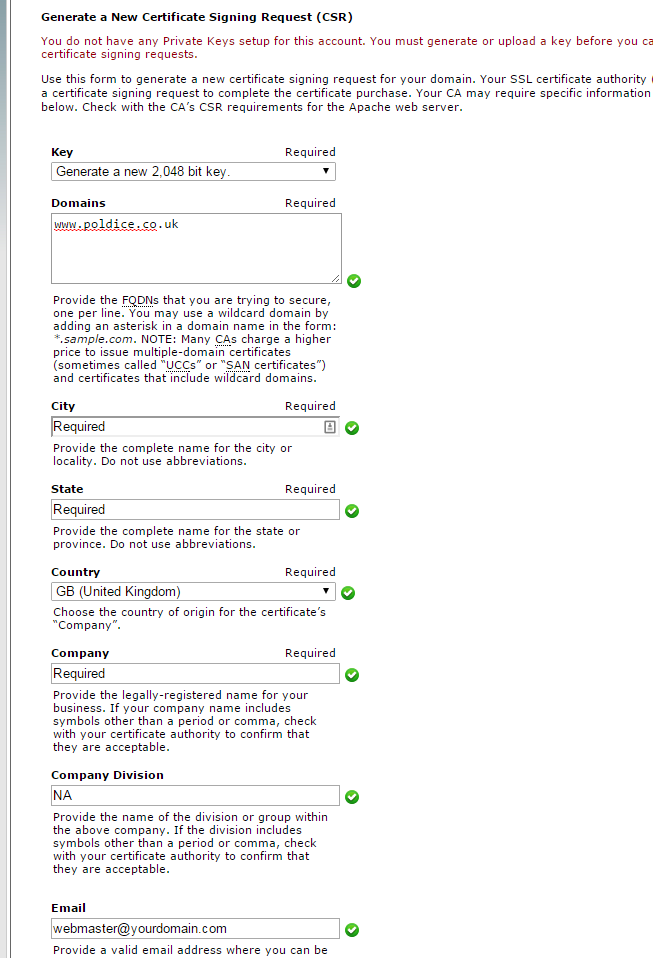
6) Please fill out the required information, making sure you apply the fully qualified domain name (www.yourdomain.com). Please note that the password field is not required, this can be left blank. Once the form has been complete please click “Generate”.
7) Once you have clicked “Generate” the next page will look like this:
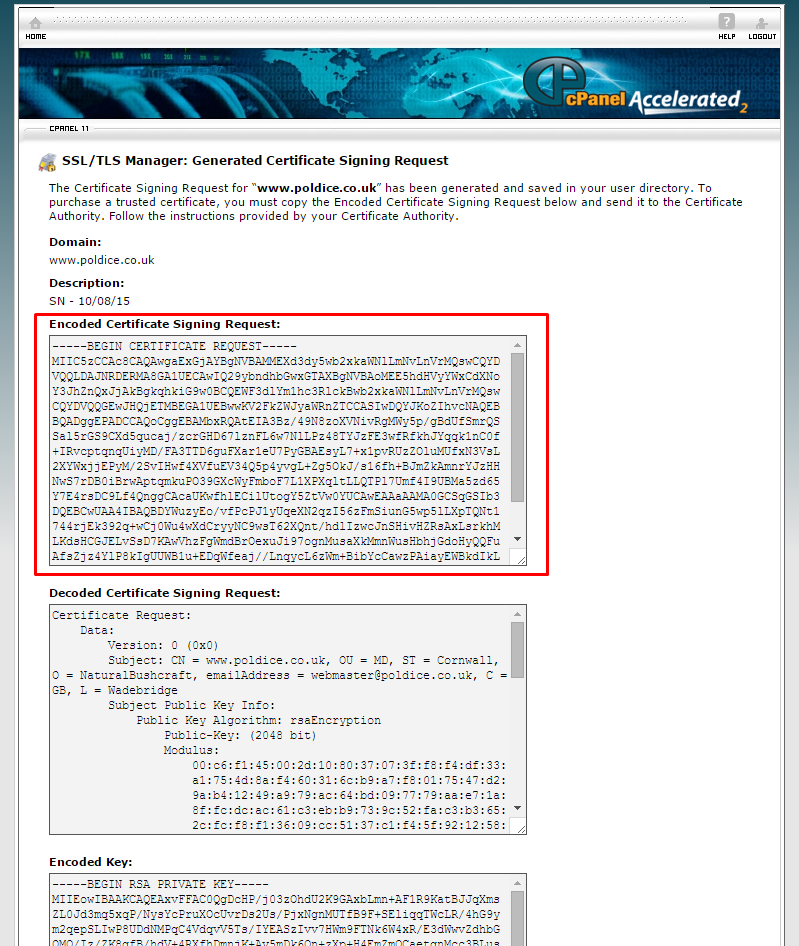
Please copy all of the text including the “-----BEGIN CERTIFICATE REQUEST-----” up to “-----END CERTIFICATE REQUEST-----” under “Encoded Certificate Signing Request:”. You won’t need the text for very long so copy it to a notepad of some description.
8) Now that you have the CSR text the next step is to login to your customer portal, when the certificate was ordered by a member of our team you would have received an email titled “Your SSL certificate”, inside this email has a link directly to your customer portal area.
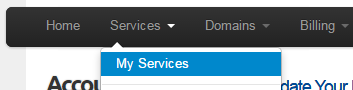
Once you are in your customer portal, please navigate to Services > My Services and look for your SSL certificate. Once you have found it please click “View Details” then “Configure Now”.
A:
B:
C:


9) For your configure now page, please set the “Web Server Type” as “cPanel / WHM” and enter your CSR text we had copied from cPanel into the CSR box then fill out the administrative contact information, remembering to enter your newly created authoritative email address.

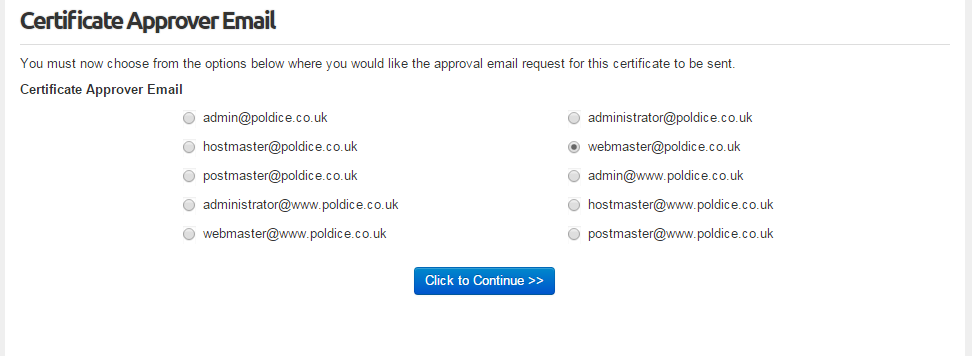
10) Once you have completed the Administrative Contact Information form please continue, then select your approved email from the list and continue.
The email address used for configuring the SSL certificate will now receive 2 emails, one notifying you that the order has been received and the other may be called something along the lines of “Certificate Request Confirmation”. Within that email is a link that needs to be clicked on to verify that you do indeed own this email account and that you requested the certificate. It is highly important that this gets verified or else the certificate installation process cannot continue, if you have not received this email within 24 hours please get in touch.
11) Once you have verified the link within the confirmation email, shortly after another email will be sent to you, within the body of the email at the very bottom you will be presented with the actual SSL certificate with the same format as the CSR we generated earlier starting with “-----BEGIN CERTIFICATE-----” and ending with “-----END CERTIFICATE-----”.
Please copy all of the certificate text including “-----BEGIN CERTIFICATE-----” and “-----END CERTIFICATE-----”.
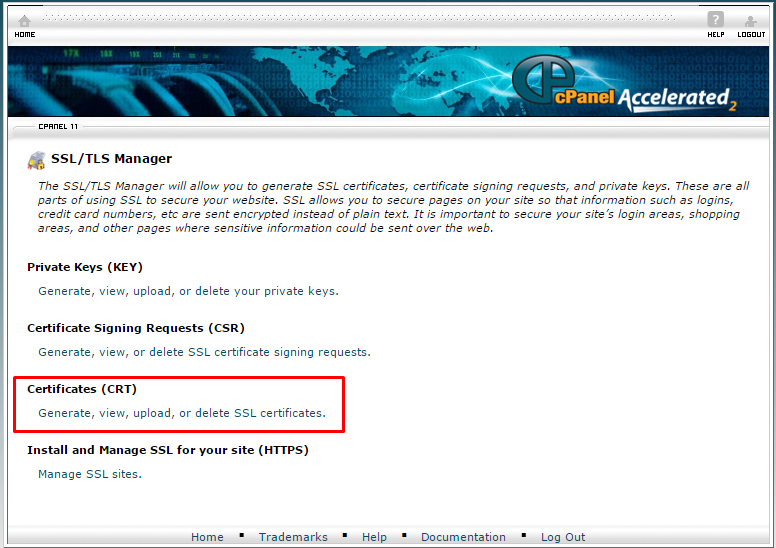
Once you have copied the SSL Certificate please navigate to “SSL/TLS Manager” in your cPanel account and select “Certificates (CRT)”.
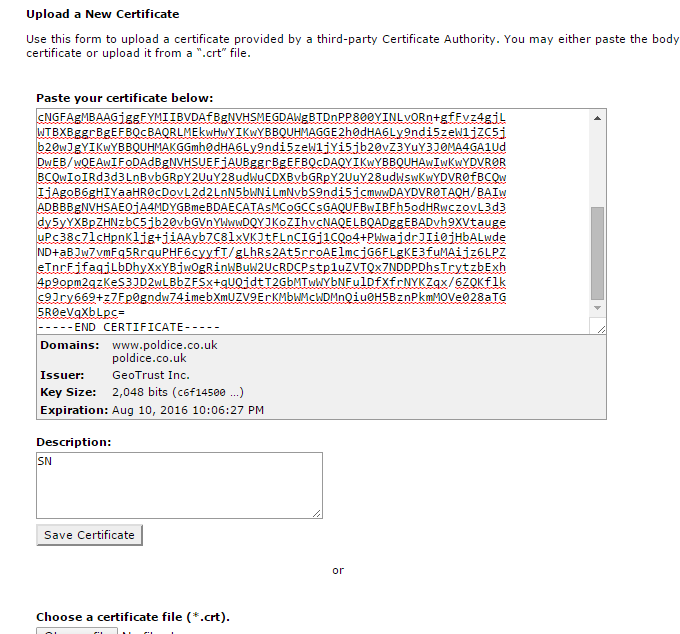
12) Paste your certificate in the top box like so, including a description then click “Save Certificate”
13) We are almost done, once the certificate has been saved navigate back to “SSL/TLS Manager” in cPanel and click “Manage SSL sites”
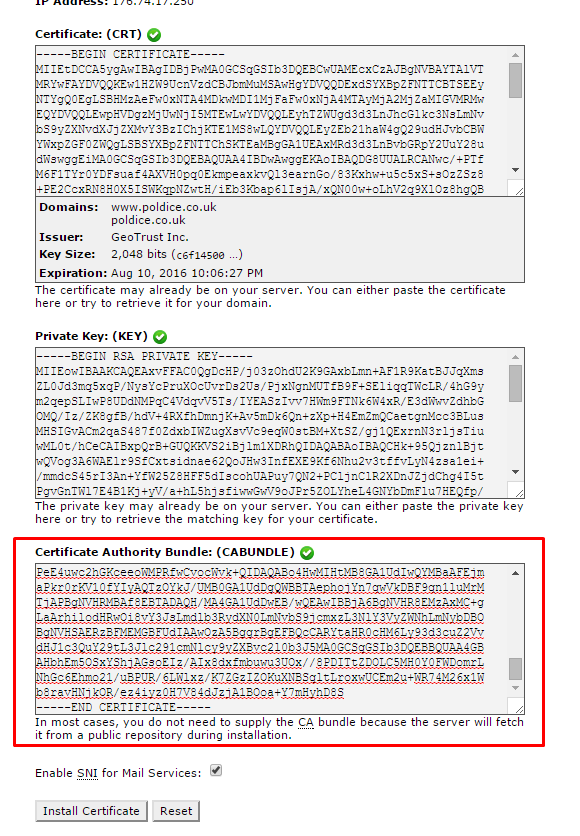
Select your domain then click “Autofill by Domain”, you should see all three boxes are now populated with encrypted text.
14) We have one more step before we can install the certificate to the domain. The very last box called “Certificate Authority Bundle: (CABUNDLE)” needs some modification in order to be compatible for a wider range of browsers. Please remove all of the text inside that box. We are going to add a different CA Bundle from the website below.
Please click here: https://knowledge.rapidssl.com/support/ssl-certificate-support/index?page=content&actp=CROSSLINK&id=SO26459
Select all of the text in the box to copy:
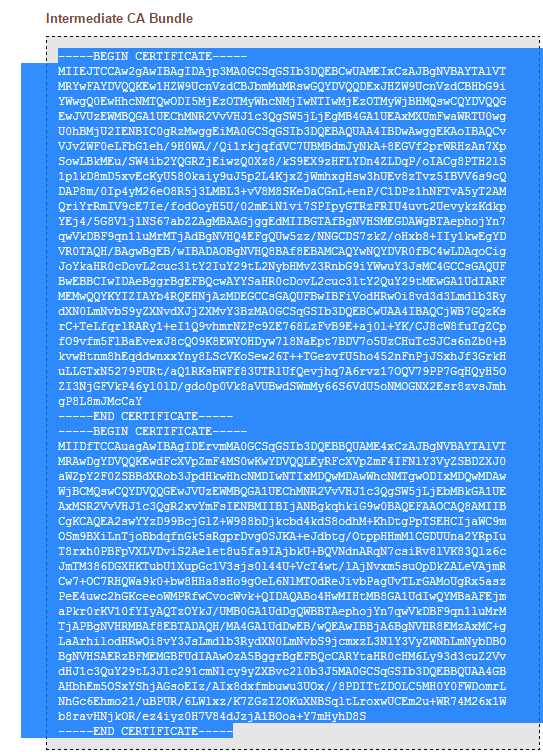
Back in your cPanel section, paste the text in the CABUNDLE box like so:
You can now click “Install Certificate”, you will be presented with a small pop-up box informing you that the SSL host successfully installed the certificate. The SSL certificate should work fairly soon after it’s been installed, you may want to try clearing your cache and cookies in your browser to make sure you are viewing a fresh version of your website.

Hopefully you have managed to follow this guide successfully, if you had any difficulties please don't hesitate to contact our support team.